

This guide walks you through each step of creating your own, bespoke Shelved TV unit — from setting up your space and choosing the right-sized elements, to fine-tuning your design and adding those finishing touches. Whether you’re creating a sleek, minimalist setup or a feature wall packed with storage, we’ll show you exactly how to bring your vision to life with precision and ease.
Step 1: Measure Your Space and Your TV
Before you start designing, grab your tape measure. You’ll need to know the size of your wall space and your television — both height and width.
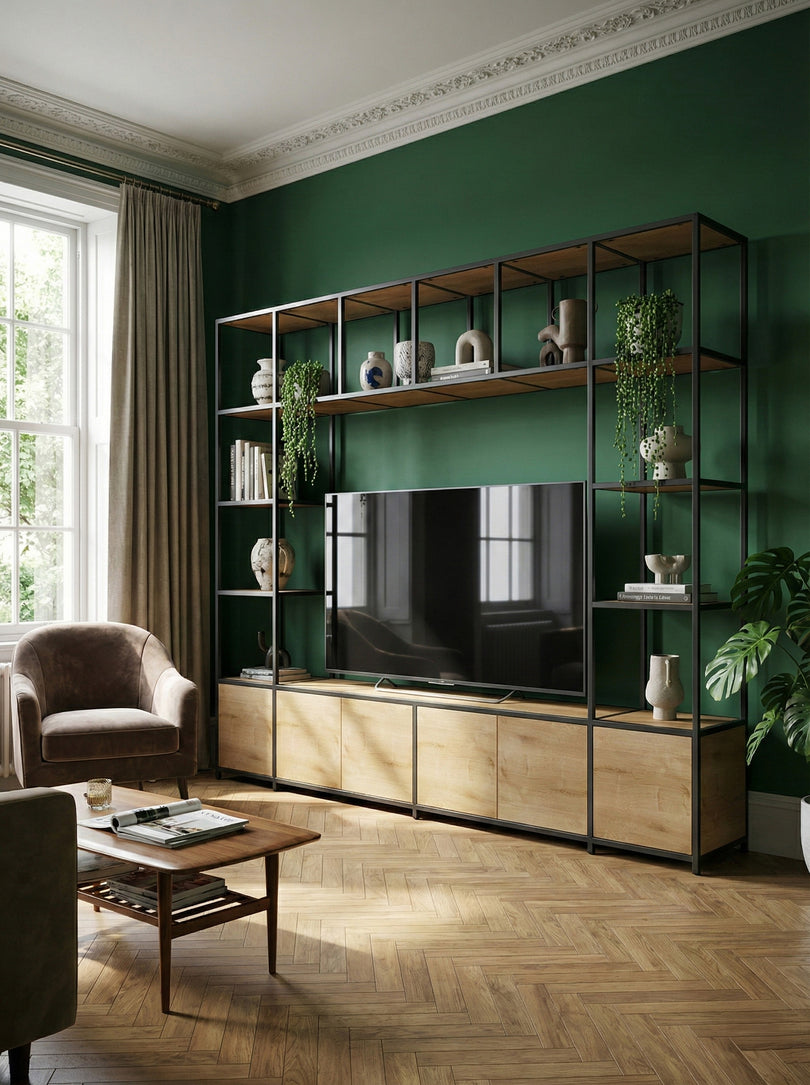
For this example, we’ll use a 65” TV (144cm x 81cm) and a wall area measuring 250cm x 220cm. Having these numbers on hand will make it much easier to create a TV unit that fits seamlessly into your room.

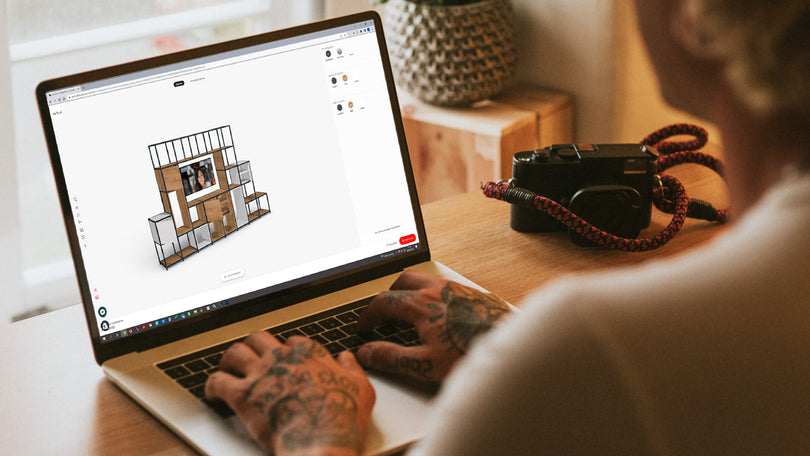
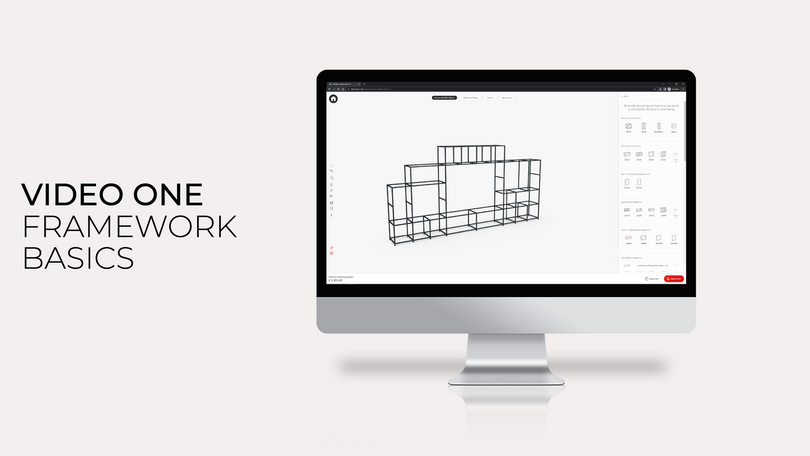
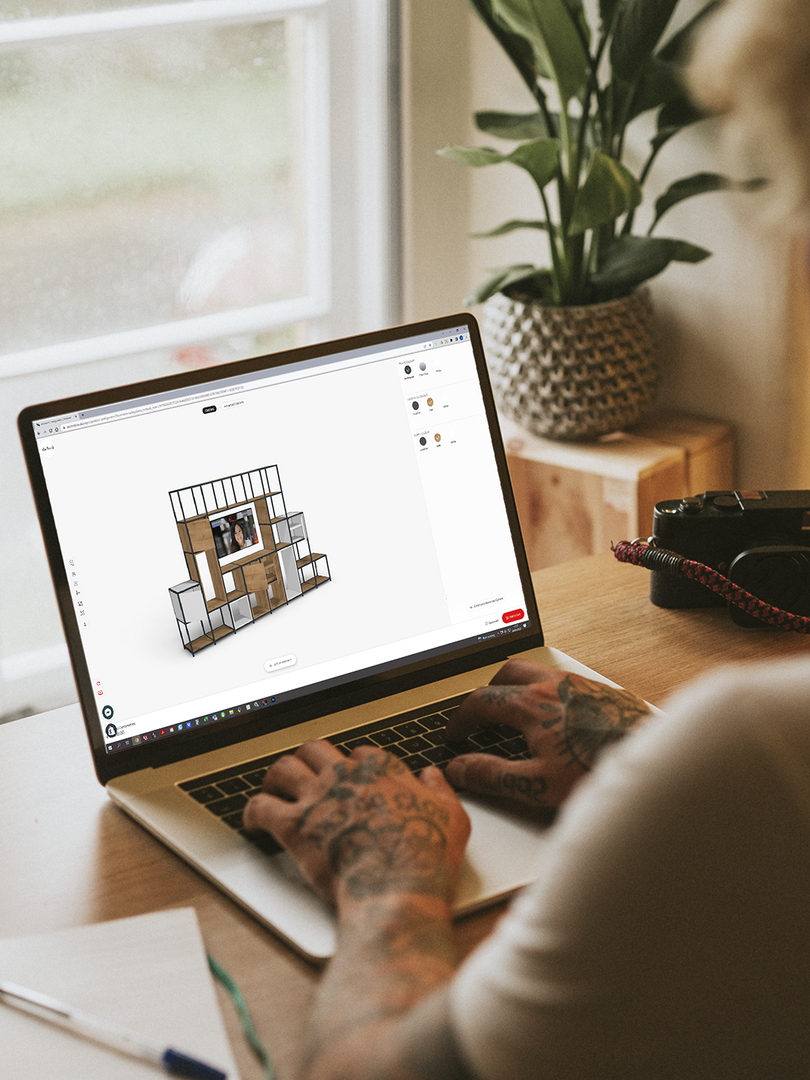
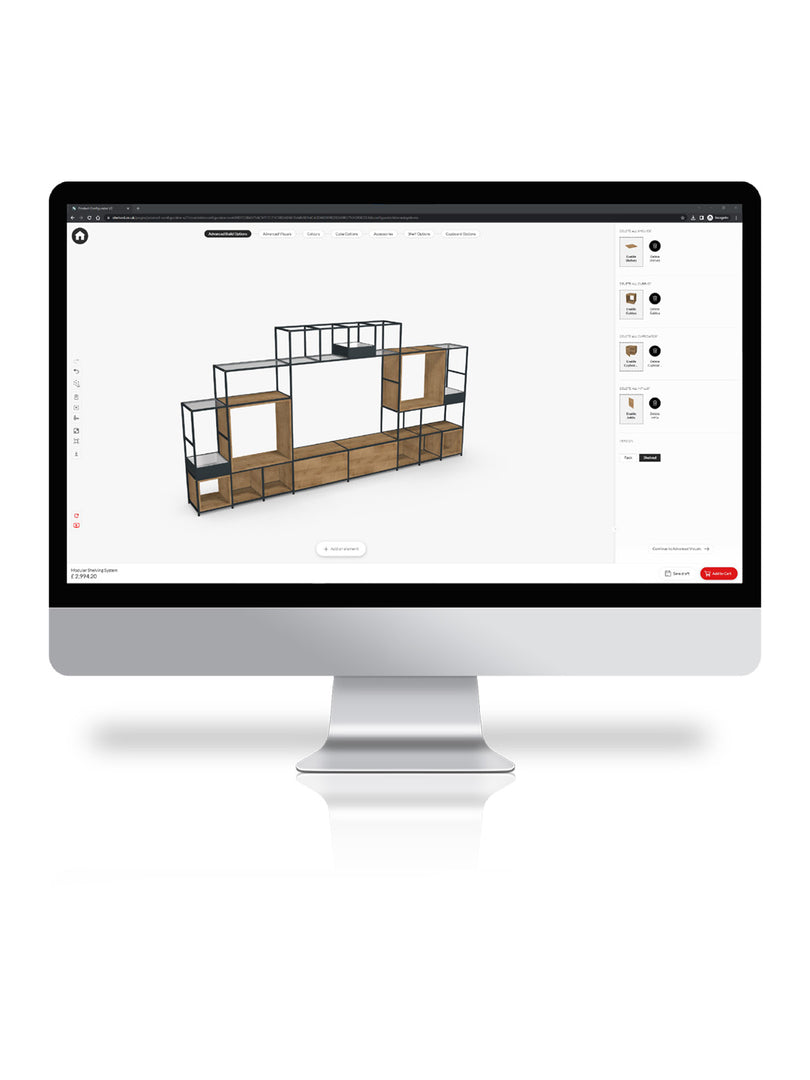
Step 2: Start Building in the Configurator
Head to the Shelved configurator and click “add an element” at the bottom of the screen. You’ll see a range of width options — select “see all” to view the full list of options within each width category.
Since our TV is 144cm wide, choose a base element that comfortably accommodates that size. From there, build upwards until you reach the point where your television will sit.
To check dimensions at any point, click “measurements” on the left-hand side. You’ll see the total height, width, and depth of your design in real time.

Step 3: Add the TV Space
Once you’ve placed at least one bottom layer, a new section will appear in the side panel labelled “TV spaces above base units.” Select the size that suits your television — in our case, the 160cm x 120cm unit.
This creates the dedicated space for your TV, then you can add units above this section too. Each new element must match the width of the block below (for example, 160cm on 160cm). Mixing widths won’t work here — modular precision keeps your design stable and clean.

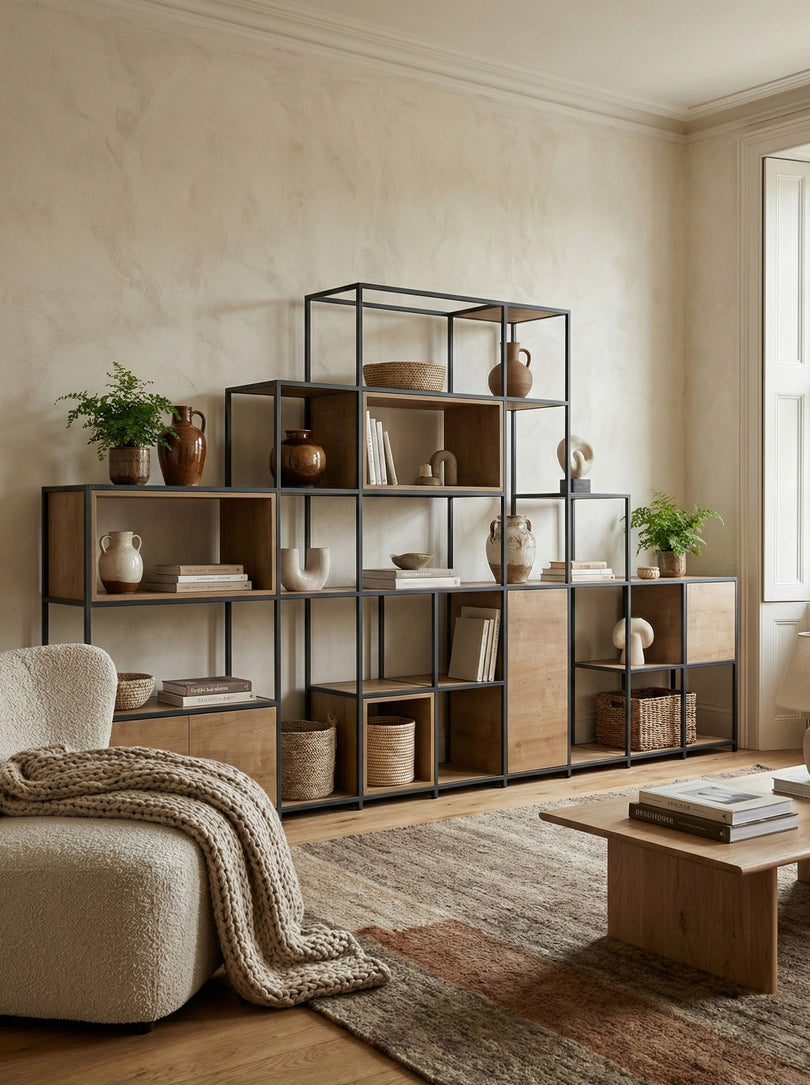
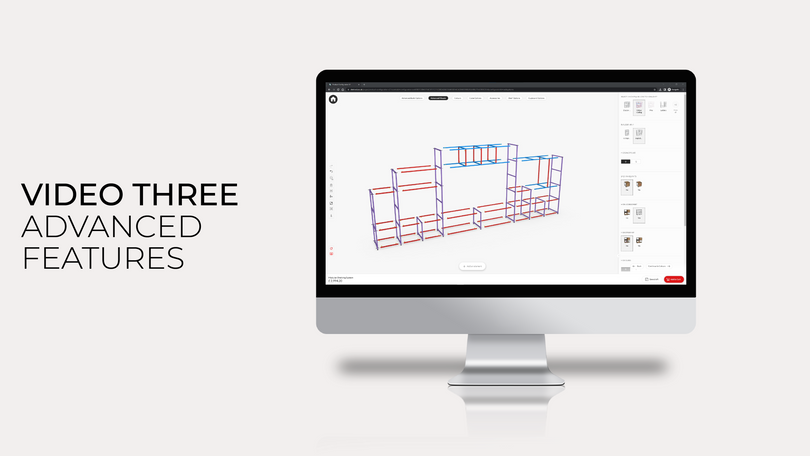
Step 4: Expand and Add Storage
With your TV space in place, you can now build outwards — adding more units to the sides or above to create custom storage around your TV.
If you’d like to add, for example, an 80cm x 40cm section above two 40cm x 40cm blocks, make sure to choose it from the 80cm building block section.

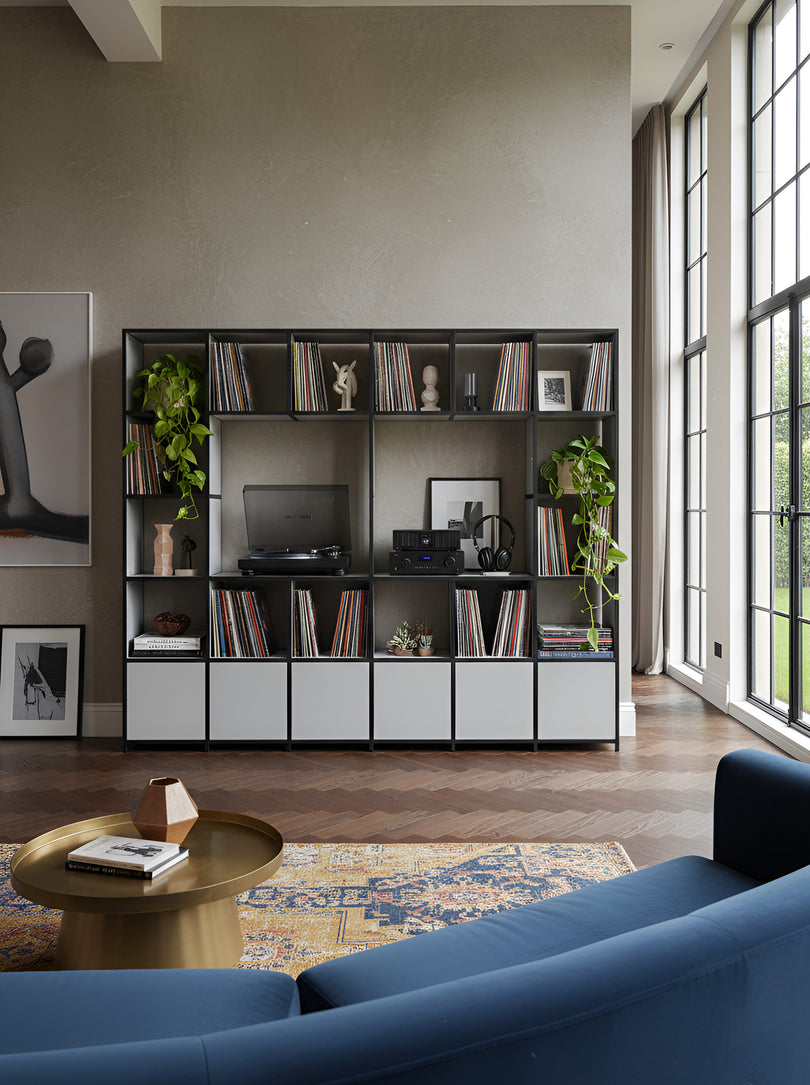
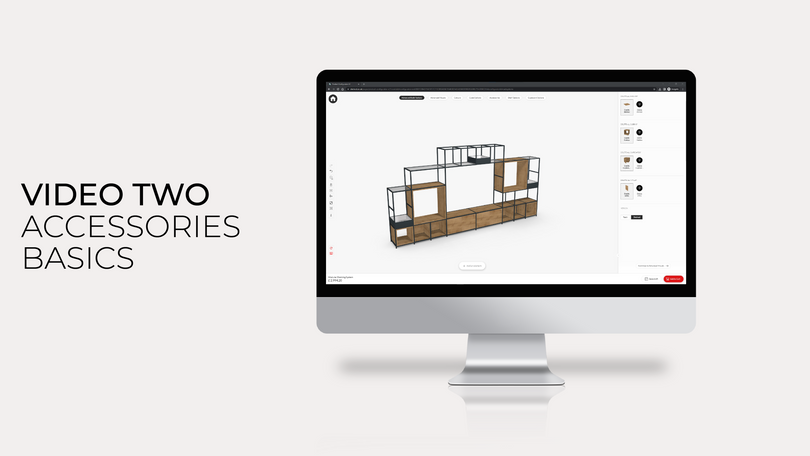
Step 5: Customise with Cupboards and Accessories
Once your structure is set, it’s time to make it yours. Scroll down through the right-hand panel to explore cupboards, accessories, and vertical dividers. You can drop these into place wherever you like — the configurator will highlight available positions automatically.
Click any cupboard to see additional options, such as internal shelving layouts, door hinge direction, and colour choices. To update your entire design at once, open the “colours” tab at the top of the screen and choose finishes for everything from frame pins to shelving panels.

Step 6: Review and Order
When you’re happy with your design, simply click “Add to basket” — and your custom TV storage unit is ready to order.

Need a hand?
If you have any questions about designing your bespoke TV unit, our team’s here to help. Email us at hello@shelved.co.uk and we’ll guide you through the process.

