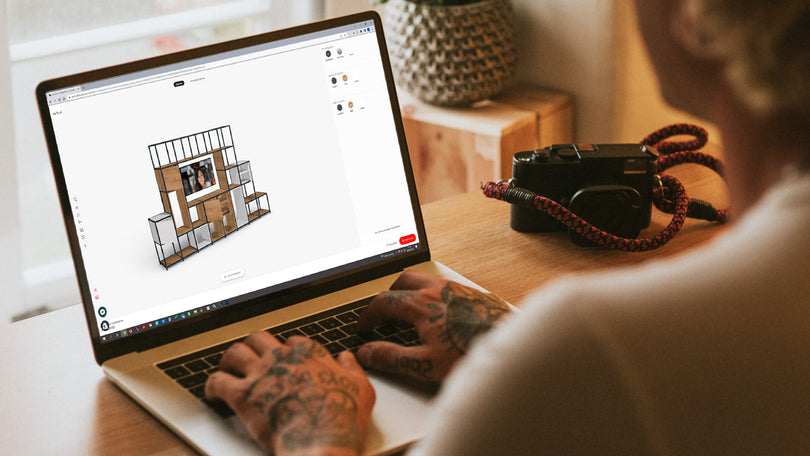

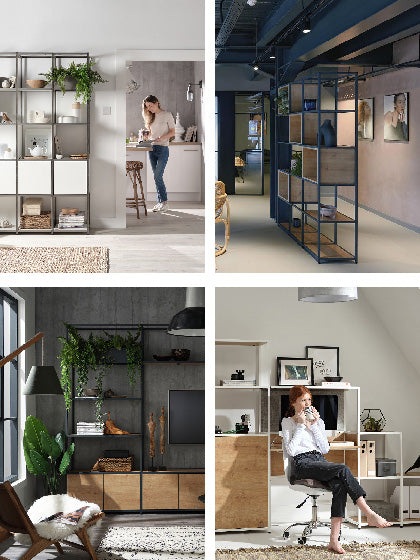

This guide shows you how to use the Shelved Configurator to create your own custom vinyl storage unit. From planning your layout and selecting the perfect elements, to refining the details and adding the final touches, we’ll show you how from start to finish.
Whether you’re looking to create a small sideboard-style storage unit or a large feature wall filled with vinyl with space for your record player, we’ll guide you step by step to bring it to life.
Step 1: Measure Your Space
Before designing, you’ll need to know the size of your wall space and the amount of Vinyl that you need storage for. For this example, we’ll use a wall measuring 300cm in width and we’ll assume that you have a large collection of 1850 records to store. To calculate how many cubes you’ll need in your storage, use our Vinyl Storage Calculator below:

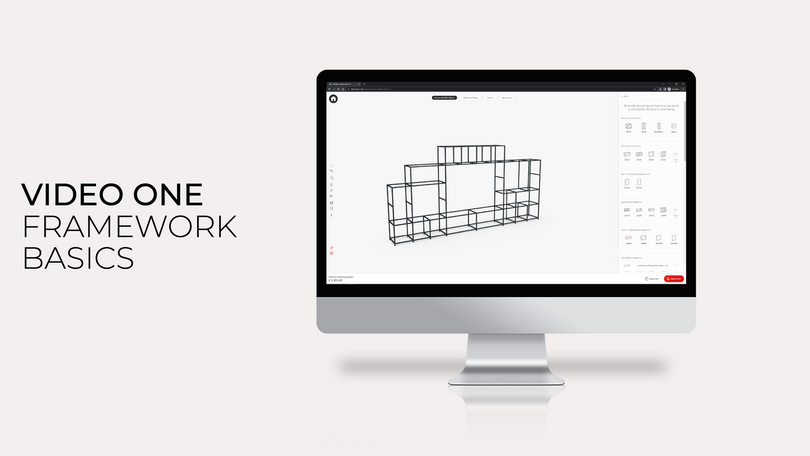
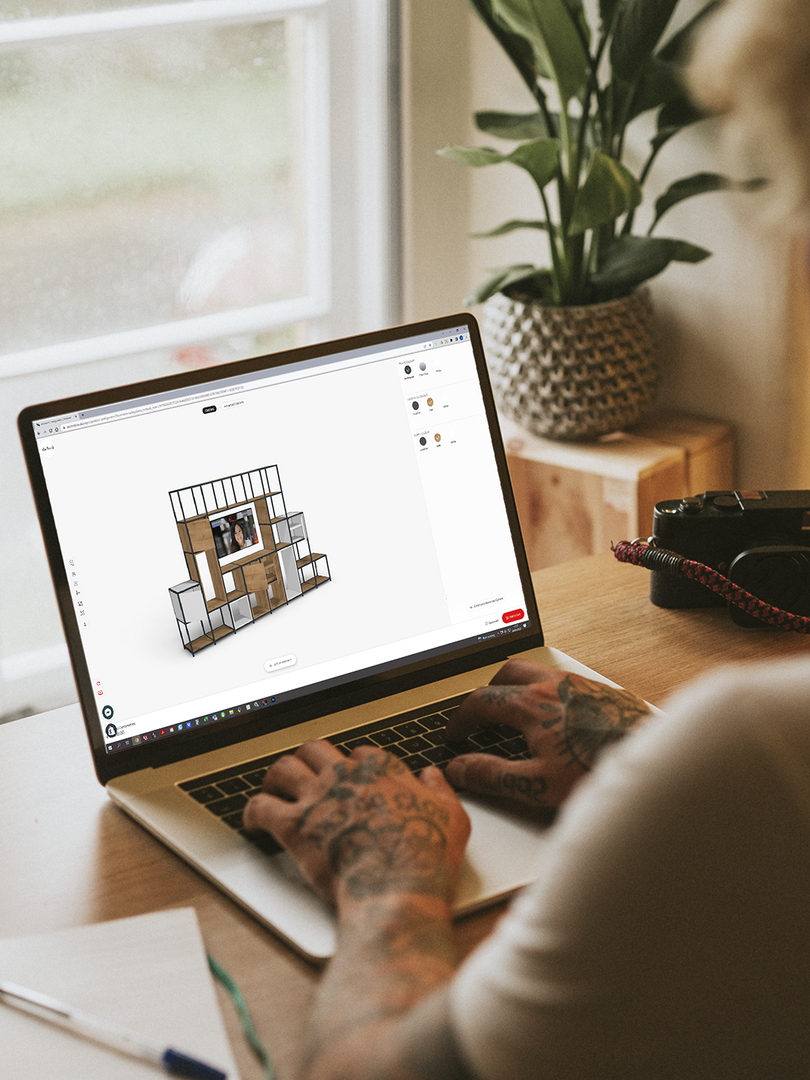
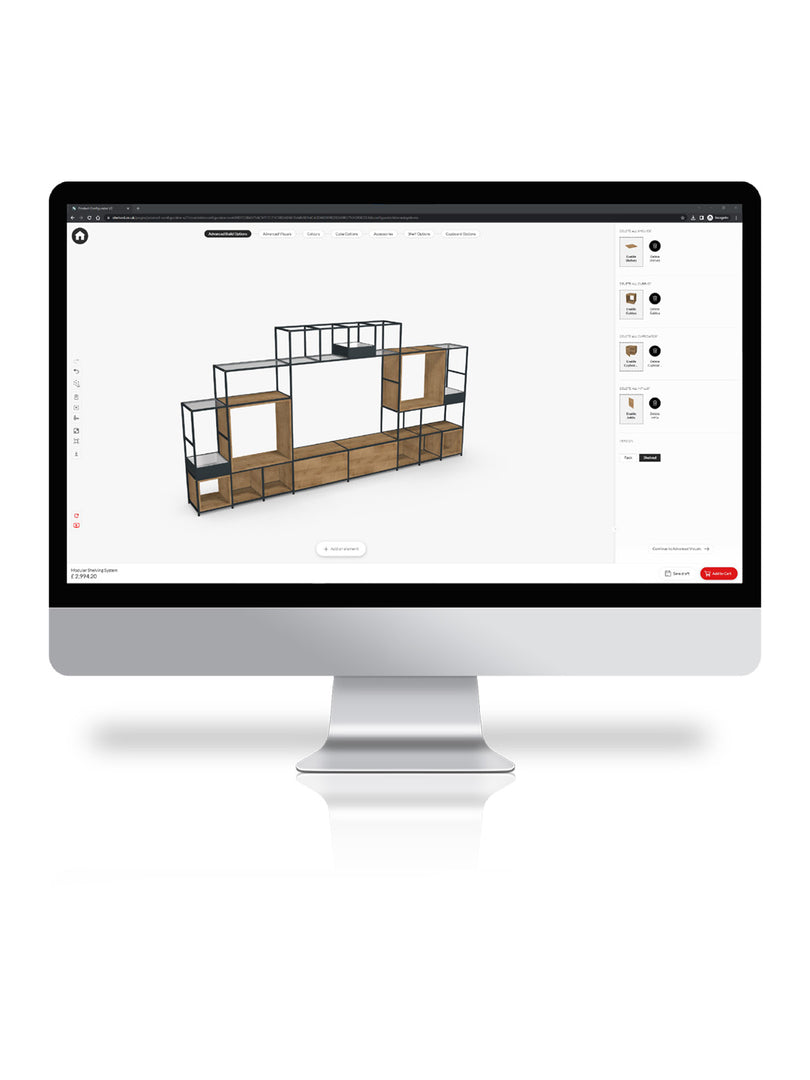
Step 2: Start building in the configurator
Head to the Shelved configurator and click “add an element” at the bottom of the screen. You’ll see a range of width options — select “see all” to view the full list of options within each width category.
For Vinyl storage, the best sized sections to work with are 40cm x 40cm. They can hold just as much weight as any of the larger sections, maximising the total weight capacity of your vinyl storage unit.
If you are going to build an open bay within the shelving unit where the record player can sit, you’ll need to select a base element that comfortably accommodates that size. From there, build upwards until you reach the point where your record player will sit.
If you’re building a sideboard-style unit without a record player, or one where the record player can sit on top, select 40cm x 40cm cubes and build upwards until you reach your desired height.
To check dimensions at any point, click “measurements” on the left-hand side. You’ll see the total height, width, and depth of your design in real time.

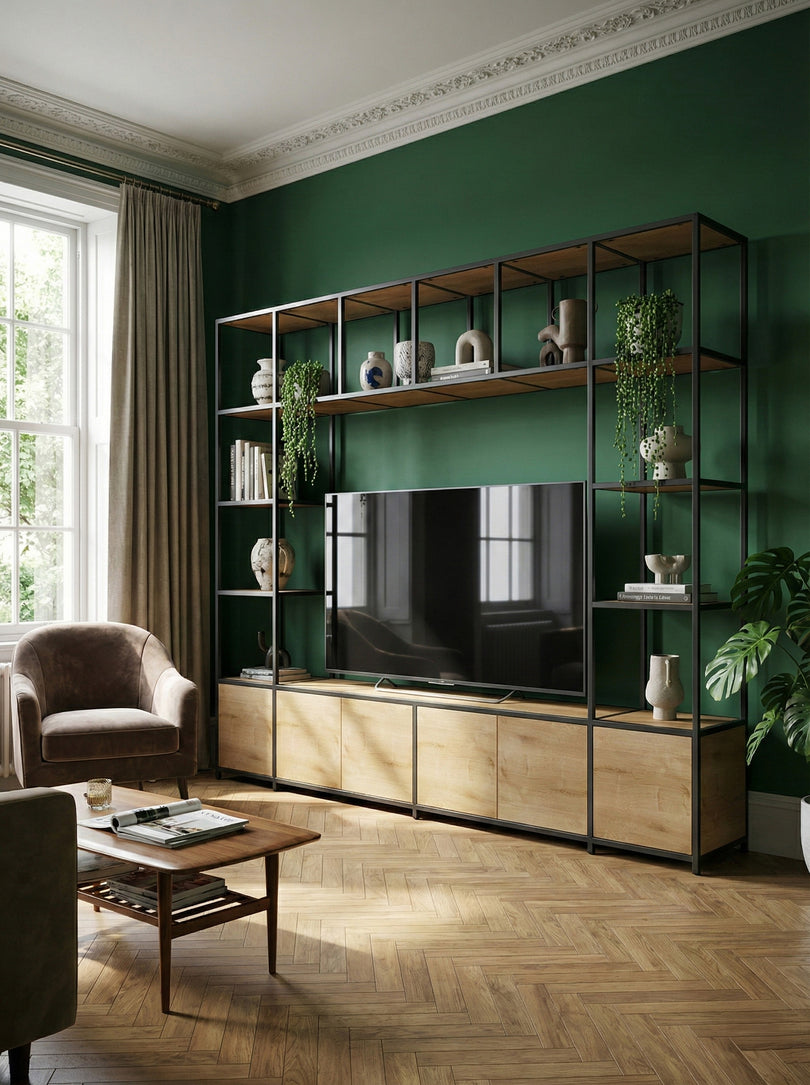
Step 3: Add the Record Player Space
If you’re making a sideboard-style vinyl unit with the record player on top, or you don’t intend on keeping your record player on this unit, skip this step and move to step 4.
Once you’ve placed at least one bottom layer, a new section will appear in the side panel labelled “TV spaces above base units.” Select the size that suits your record player – in our case, we’ll select a 120cm x 80cm section.
This creates the dedicated space for your record player, then you can add units above this section too. Each new element must match the width of the block below (for example, 120cm on 120cm).

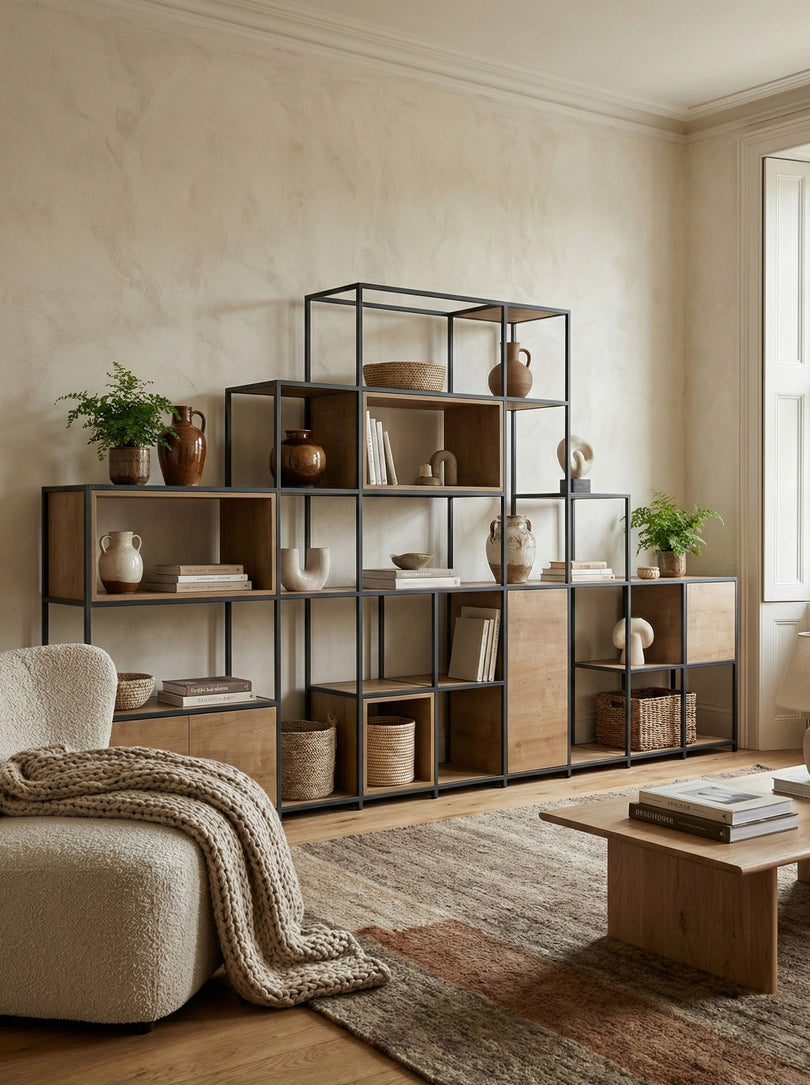
Step 4: Expand and Add Storage
You can now build outwards — adding more 40cm x 40cm units to the sides or above until your structure is complete.
If you’re intending on having a larger section higher up the unit, you must select a base section with the same width. So, if you’re wanting an 80cm x 80cm section on the second and third row, you’ll need to add in a base layer that’s also 80cm wide beneath it.

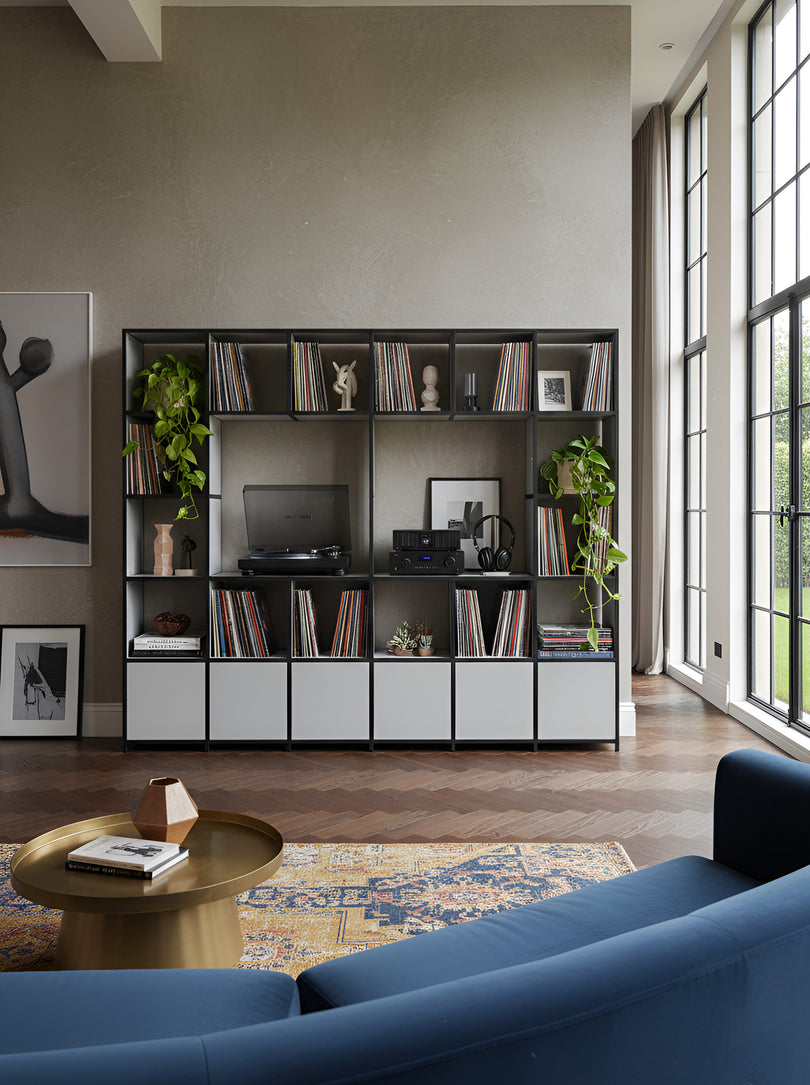
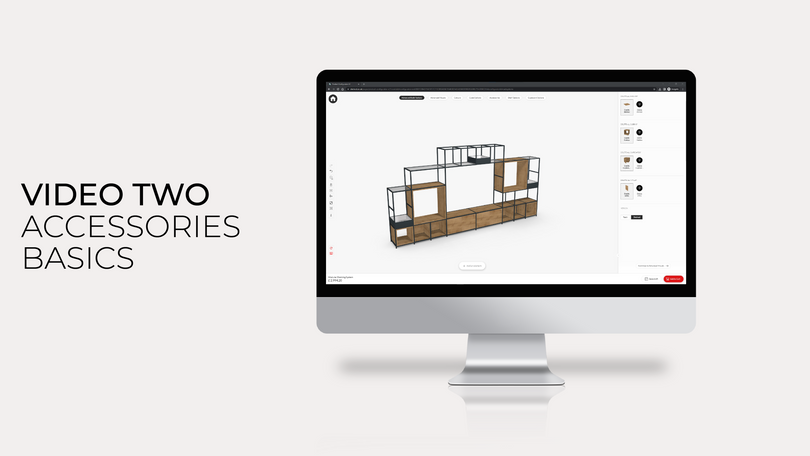
Step 5: Add Cubbys
Once your structure is set, you can begin to personalise. Scroll down through the right-hand panel to explore cupboards, planters and most importantly, cubbys.
Shelves without a cubby are rated to 20kg but can leave a slight lip where the shelf meets the frame. A cubby removes that lip and spreads the load through the full depth of the shelf, boosting capacity dramatically to 50kg. Place these, or any other cupboard or accessory wherever you like. The configurator will highlight available positions automatically.
Click any of the cubbys to see additional options, such as which way it faces and colour options. To update your entire design at once, open the “colours” tab at the top of the screen and choose finishes for everything from frame pins to cubbys.

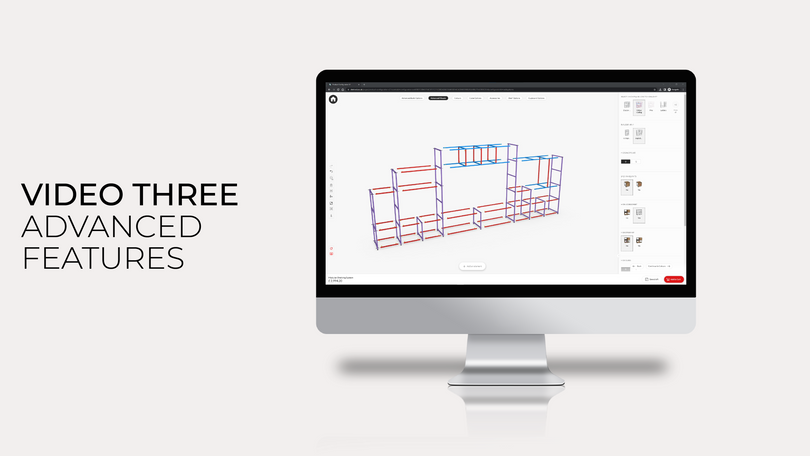
Step 6: Review and Order
When you’re happy with your design, simply click “Add to basket” — and your custom vinyl storage unit is ready to order.

Need a hand?
If you have any questions about designing your bespoke vinyl unit, we’re here to help. Email us at hello@shelved.co.uk and we’ll happily guide you through the process.