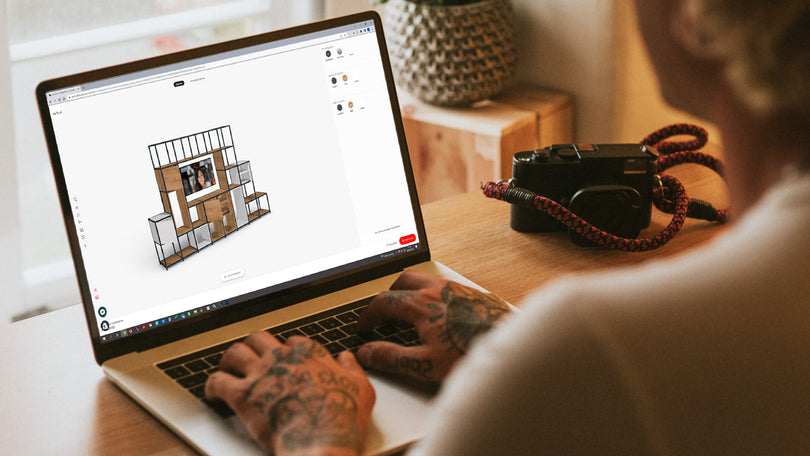

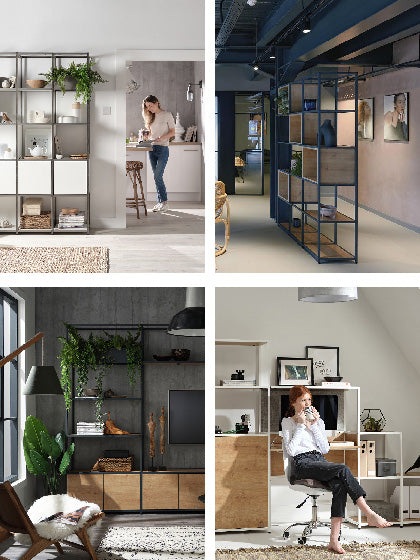
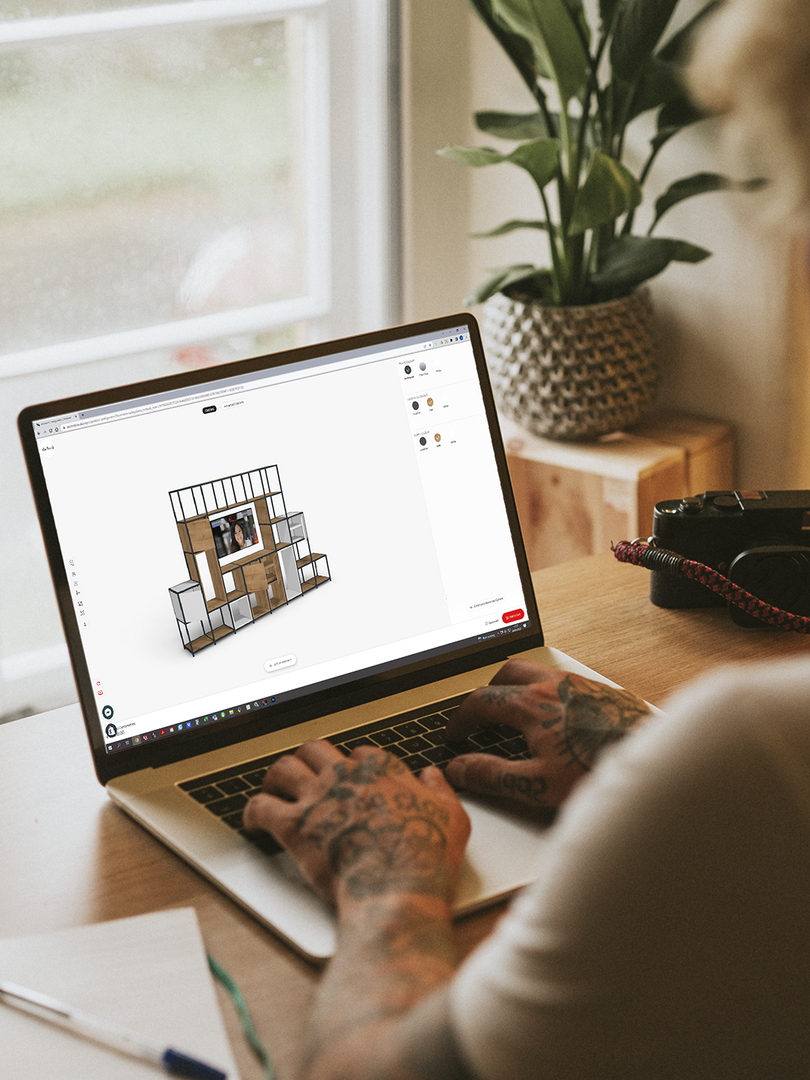

This guide walks you through using the Shelved Configurator to design your own custom corner unit. From mapping out your layout and choosing the right components to fine-tuning the details and adding the finishing touches, we’ll take you through every step of the process from beginning to end.
Whether you’re looking to create a small sideboard-style storage unit or a large feature wall with an integrated desk, our step-by-step guidance will help you turn your vision into reality.
Step 1: Measure Your Space
Before designing, you’ll need to know the size of your wall on each wall of the corner. For this example, we’ll use a wall measuring 350cm in width and 125cm in depth.
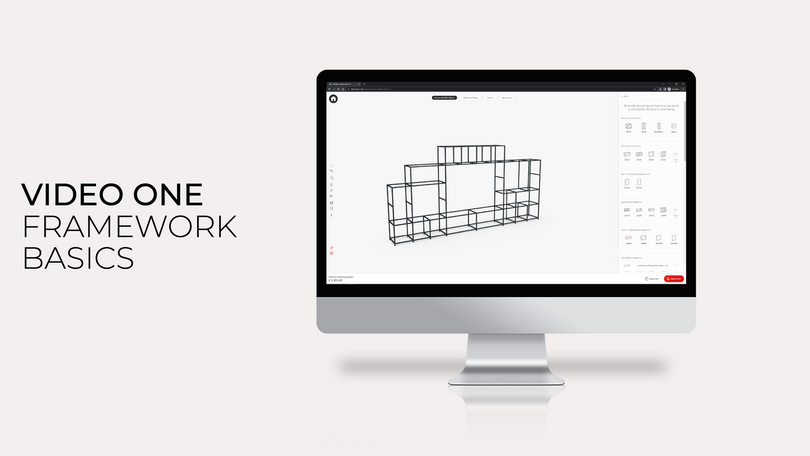
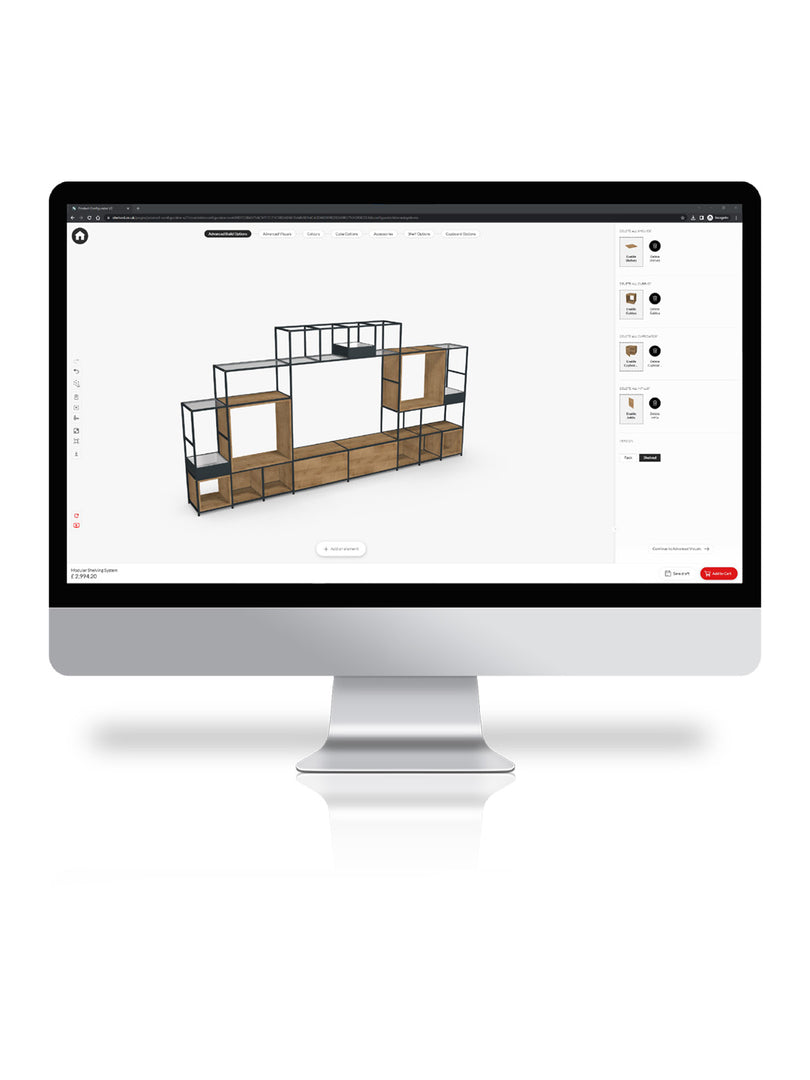
Step 2: Start Building In The Configurator
Head to the Shelved configurator and click “add an element” at the bottom of the screen. You’ll see a range of width options — select “see all” to view the full list of options within each width category.
We will add in a desk unit to this build too. If you’re not adding a desk into your configuration, head to step 3.
We’ll begin by selecting the desk unit from the “80cm building blocks” section and select a desk. Once it’s in place we can build upwards as high as we want. We’ll add a 80cm x 80cm cube above so there’s plenty of head room.

Step 3: Building the first wall
Each new element must match the width of the block below (for example, 120cm on 120cm), so if you’re intending on adding wider sections above, you’ll need to select from the appropriate building blocks.
Place your first building blocks and build upwards high as you want, then build out the wall in width until you’ve got as close to your dimensions as possible. Use different height and sizes to suit your needs and aesthetic preference.
To see the width of your unit as you build, click the ruler icon on the left-hand side.
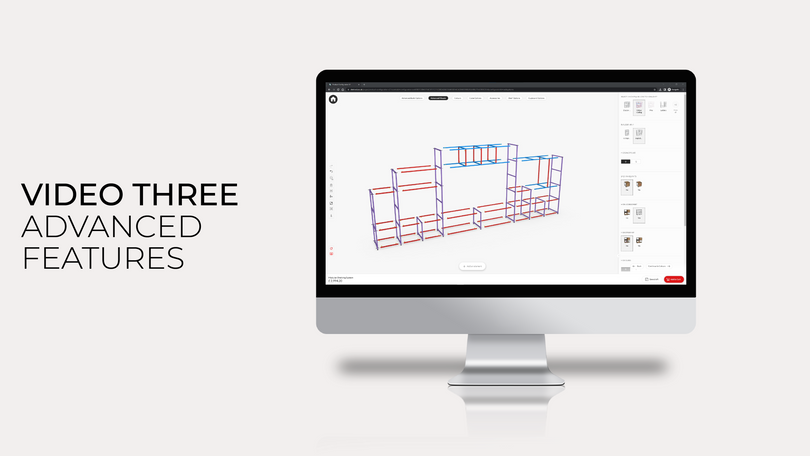
Once this is done, select the end of the unit that we’d like to become the corner, and click “right angles”. This will allow us to build this into a corner unit.

Step 4: Building the corner
Now, when you select the building blocks, you’ll see options to build outwards from the corner of the unit. Place building block outwards until your unit is the right depth, and then build upwards. Again, if you’re intending on adding wider sections above, you’ll need to select from the base building blocks with the same width as the higher building blocks you intend on adding after.

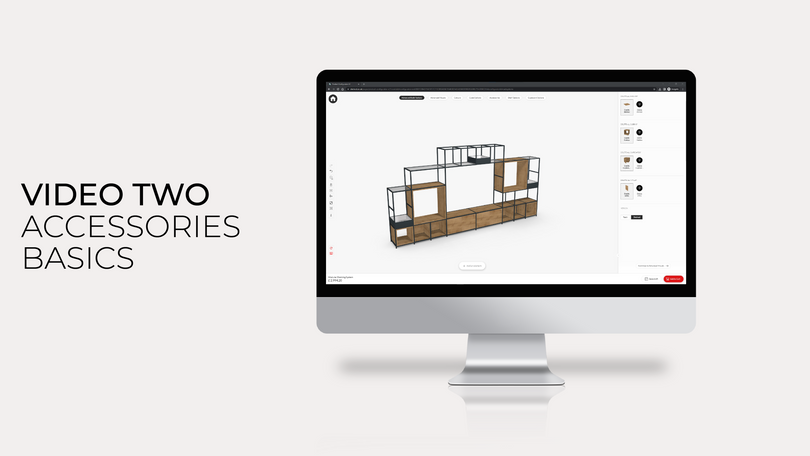
Step 5: Customise
Once your structure is set, you can begin to personalise. Scroll down through the right-hand panel to explore cupboards, planters, fabric panels, and cubbys. You can drop these into place wherever you like — the configurator will highlight available positions automatically.
Click any of these items to see additional options, such as internal shelving layouts, door hinge direction, facing direction, and colour choices. To update your entire design at once, open the “colours” tab at the top of the screen and choose finishes for everything from frame pins to shelving panels.

Step 6: Review and Order
When you’re happy with your design, simply click “Add to basket” — and your custom corner unit is ready to order.

Need a hand?
If you have any questions about designing your bespoke corner unit, our team’s here to help. Click here and we’ll guide you through the process.
FAQs
Can I design a corner unit for any size of space?
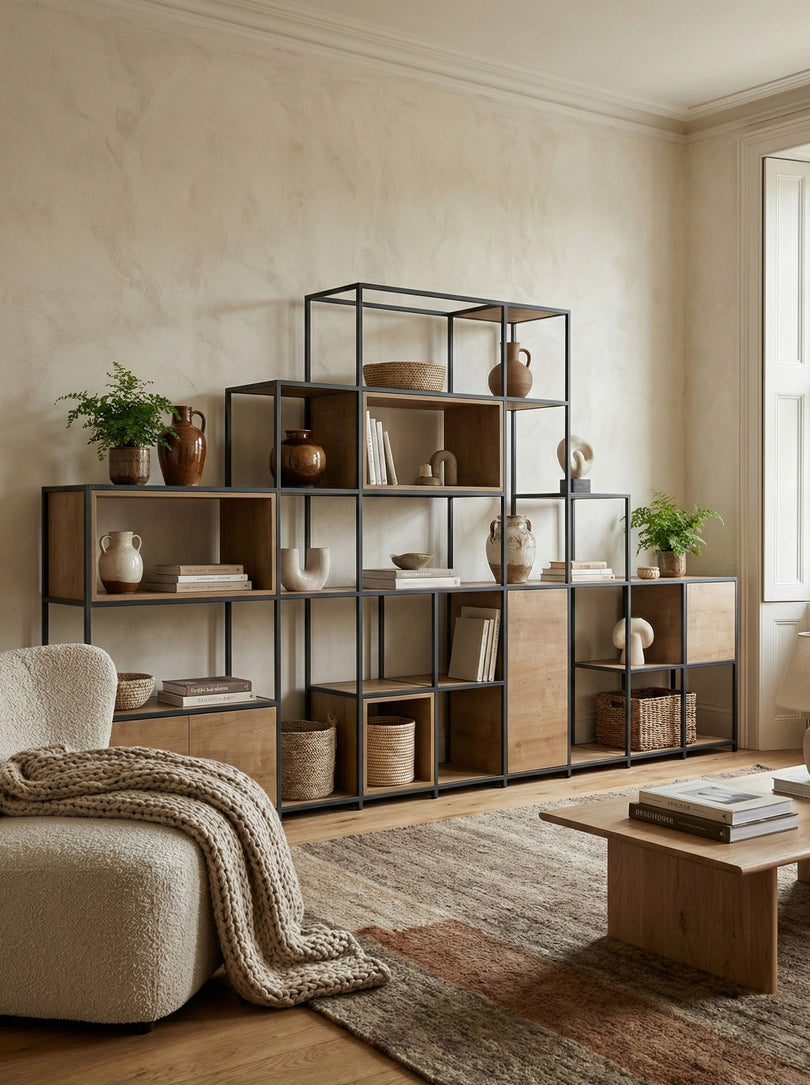
Not quite. The Shelved system works in 40cm x 40cm cubes. Therefore, the final height and width of any Shelved framework is going to be a multiple of 40 (plus 5.5cm in height for the legs, and 2cm in depth for the outer ladders). For example, the unit above is 165.5cm in height and 242cm in width.
How does the corner fixings work?
A Shelved corner unit is essentially made up of two separate units that are joined together using a secure fixing bracket. That’s why the depth of the unit above is 124cm — the overall measurement includes the additional outer ladders on the right-hand side of the unit.
What measurements should I take before getting started?
You’ll need the width of both walls that meet at the corner, along with your ceiling height if you’re planning to build upwards. It’s also helpful to note any features that could affect placement, such as radiators, sockets, skirting boards, or coving. Measuring carefully at the start makes the design process much smoother.
How can I check that my design fits my wall dimensions?
You can monitor your progress by clicking the ruler icon on the left-hand side of the configurator. This shows the total width as you build, helping you stay as close as possible to your real-world measurements. Since the system uses set module sizes, it’s normal to work towards the closest fit rather than an exact match.
How do I turn a straight unit into a corner layout?
Once you’ve built your first wall section, select the end block where you want the corner to begin and click “Right angles.” This activates corner mode, allowing you to extend the design onto the adjoining wall. From there, you can build outward to your chosen depth and continue stacking upwards as needed.