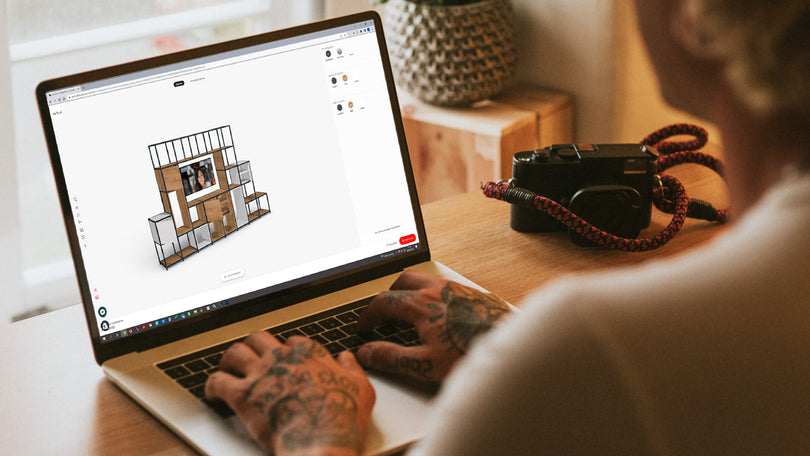
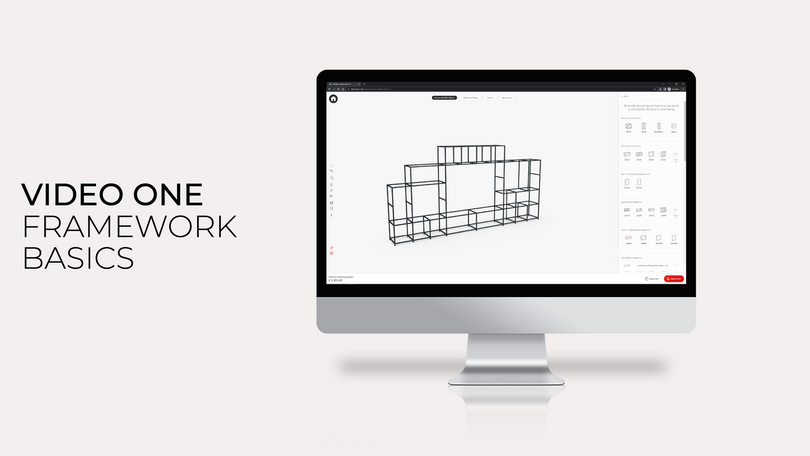
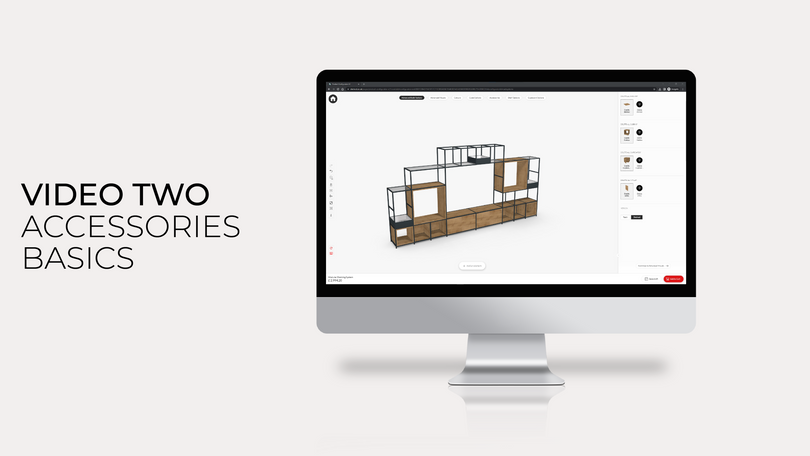
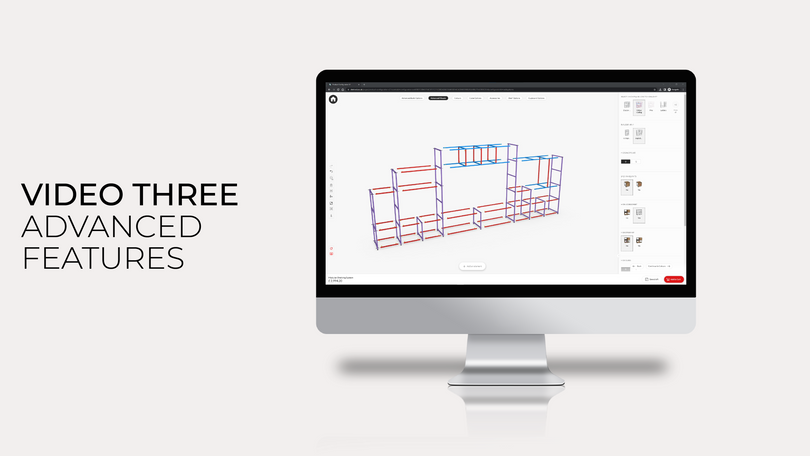

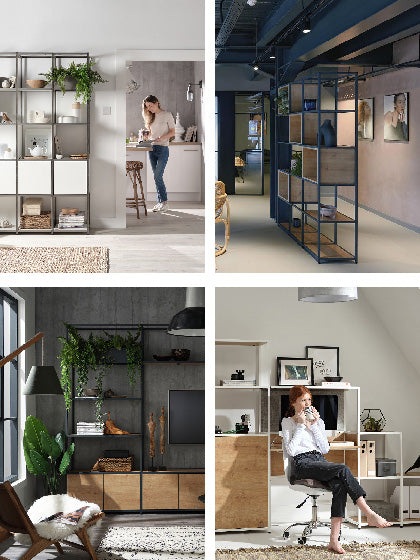
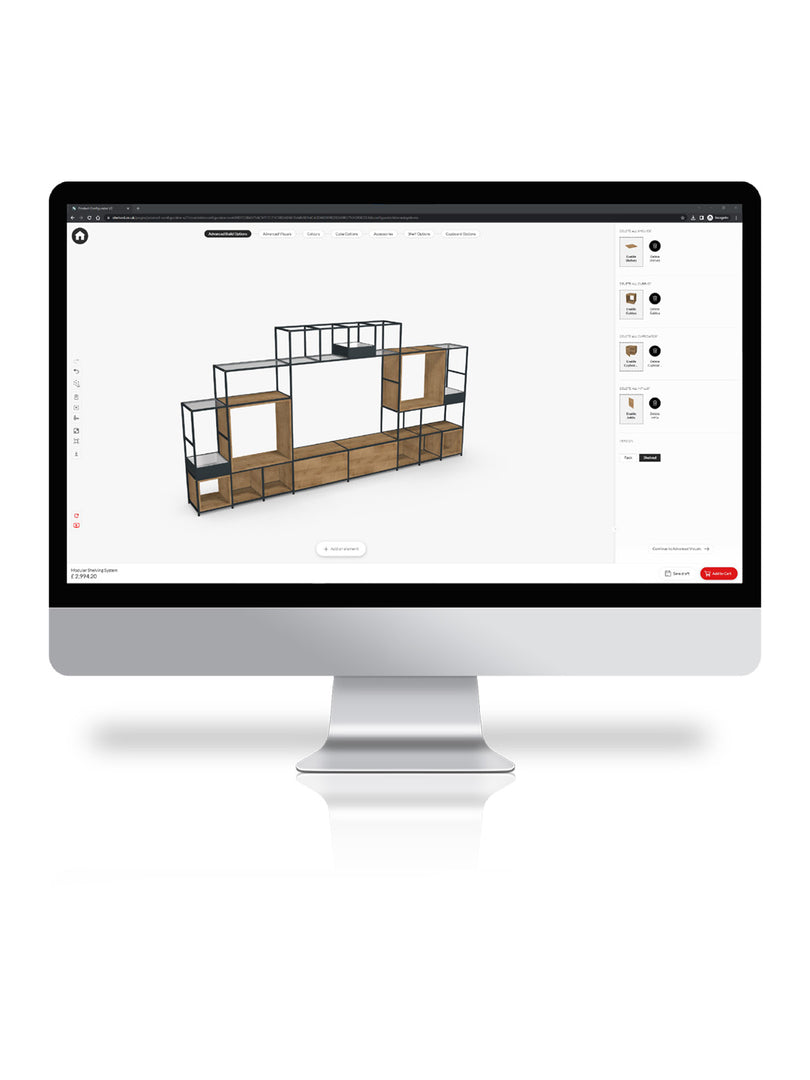

This guide will walk you through using our configurator to design your own bespoke feature shelving. From designing your framework and choosing the right components to refining the details and adding accessories, we will guide you through each step of the process from start to finish.
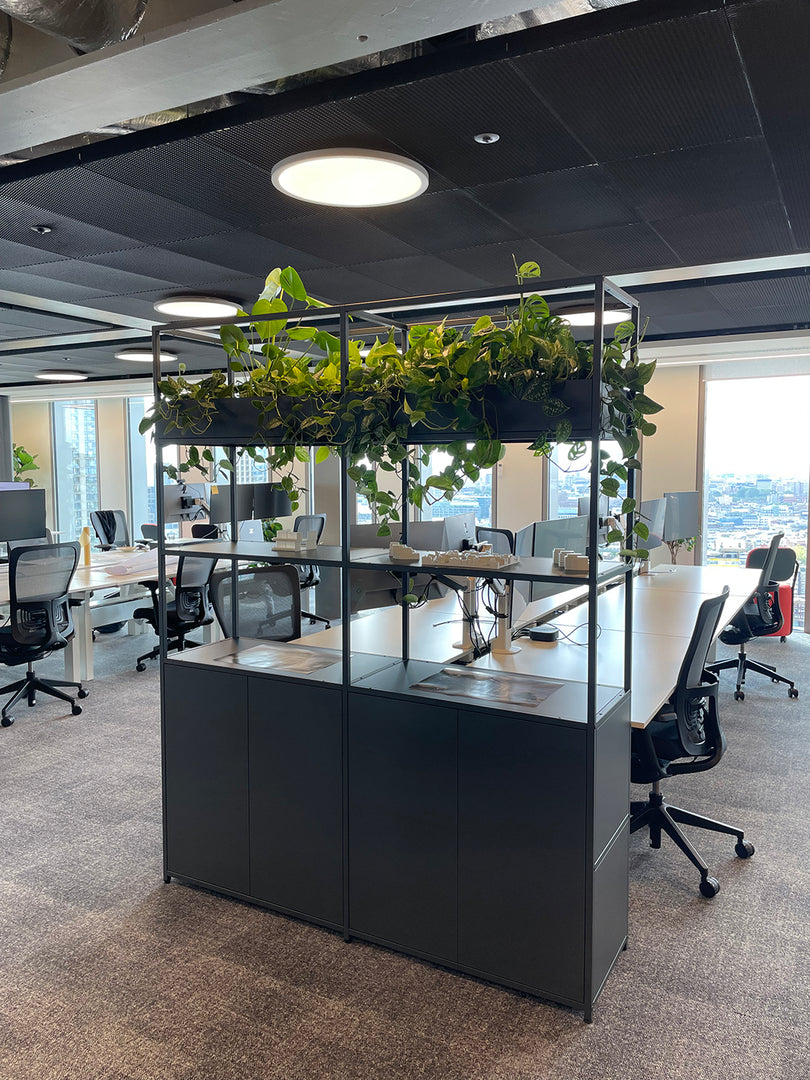
Whether it’s a wide room divider with open cubbies and platers for a kitchen-diner or a tall feature unit with closed storage for a home office, our guide has you covered.
Step 1. Measure your space
Before you start on the configurator, you’ll need to know what size you’d like the unit to be. For this example, we’ll use a width of 350cm and a height of 230cm to create a unit with open and closed storage as well as a planter.

Step 2: Start Building In The Configurator
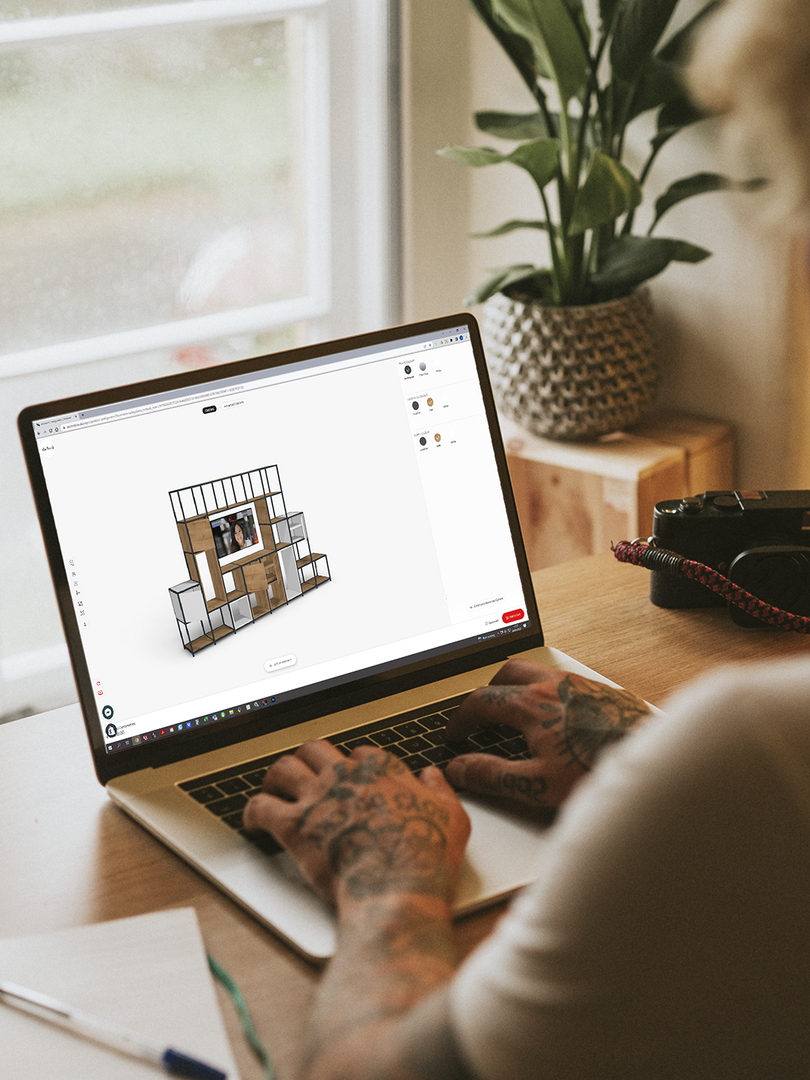
Open the configurator and click “add an element” at the bottom of the screen. You’ll see a range of width options. Select “see all” to view the full list of options within each width block size.
Each new element must match the width of the block below (for example, 120cm on 120cm), so if you’re intending on adding wider sections above, you’ll need to select from the appropriate building blocks.
Start by selecting placing your first building blocks and build upwards high as you want. To see the width of your shelving as you build, click the ruler icon on the left-hand side.

Step 3: Finish The Structure
Once you’ve built to your desired height, build outwards unit you’ve got to your desired width.
Remember to use a block size on the base of the unit that is big enough to accommodate what you intend on building above it. Two 40cm x 40cm cubes from the “40cm Building Blocks” section cannot be placed on top of a block from the “80cm Building Block” section, but you can select two 40cm x 40cm cubes from the “80cm Building Block”.
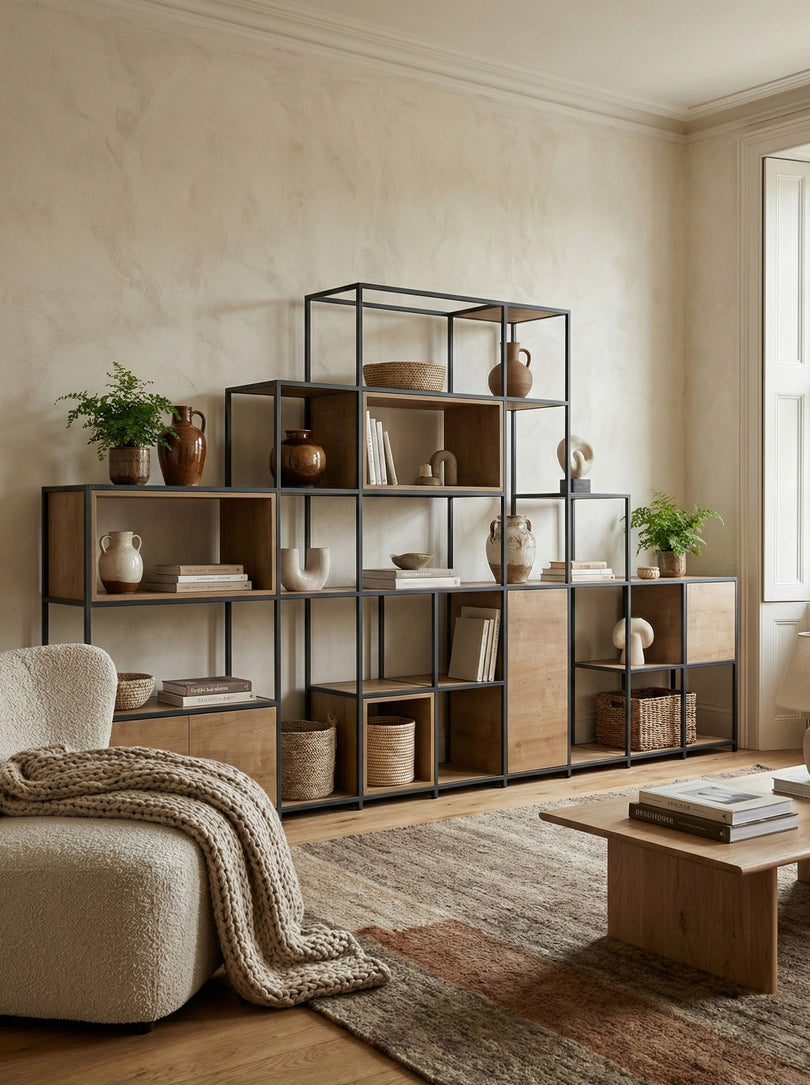
Since you’re building in columns, you can have tiered shelving of different heights, as long as you build upwards in the correct sized building blocks.

Step 4: Populating The Unit
Once your framework is complete, you can start customising the finer details. Use the right-hand panel to browse accessories like cupboards, planters, fabric panels, and cubbies, then place them wherever they suit your layout. The configurator will automatically highlight where each element can be added.
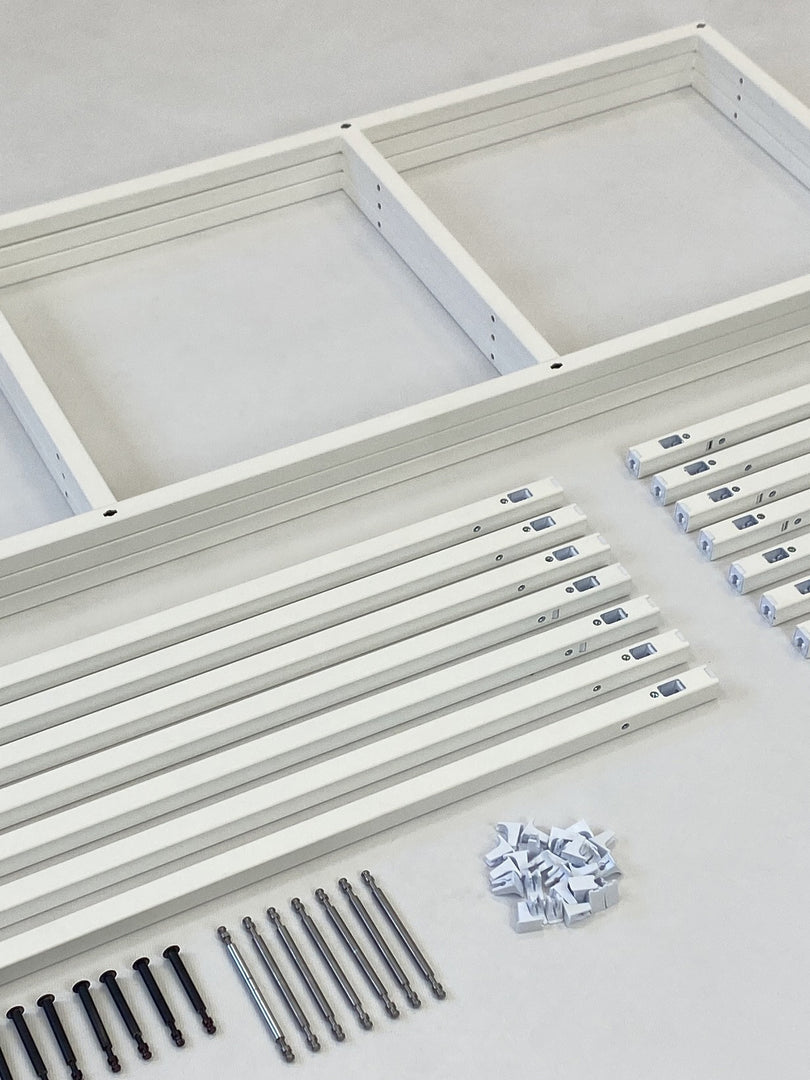
Selecting an item opens up further options, including internal layouts, hinge positions, orientation, and colour finishes. If you want to update the overall look, head to the “colours” tab at the top to apply finishes across your entire design, from frame pins to shelving panels.

Step 5: Review and Order
When you’re happy with your design, simply click “Add to cart” — and your feature shelving is ready to order.

FAQs
What measurements do I need before I start designing my feature unit?
You’ll need to know the approximate width and height you want your unit to be. It’s also worth measuring the available depth and checking for anything that you might need to work around, such as skirting boards, sockets, doors or windows.
What happens once I finish my design?
Once your design is complete, simply click “Add to cart” to prepare it for purchase. Your custom configuration is saved and ready to order, making it easy to move from design to installation with confidence. From there, click the cart icon in the top corner and add you payment details.
Can I create a tiered shelving design?
Yes. Simply build different columns to different heights. As long as each column is constructed using compatible building blocks, you can create a staggered or stepped design.
Can I share my design with someone else?
Yes, you can easily share your design for feedback or collaboration. Simply click the “save my design” button to generate a unique link. You can then copy and paste this link to send your design to others to view.
Can I add a desk to my unit?
Yes. In the 80cm building block section, you can select a desk and add it to either side of your unit.
Can I access the shelving from both sides of the feature unit?
Yes, as long as you’ve not filled in the front of the back o the shelf with a divider panel, you can access the front and rear of each shelf from both sides of the unit. Cupboards however, are only accessible from one side of the unit.
Want to turn this feature shelving into a corner unit? Click here for our step-by-step guide on building your own corner unit.