
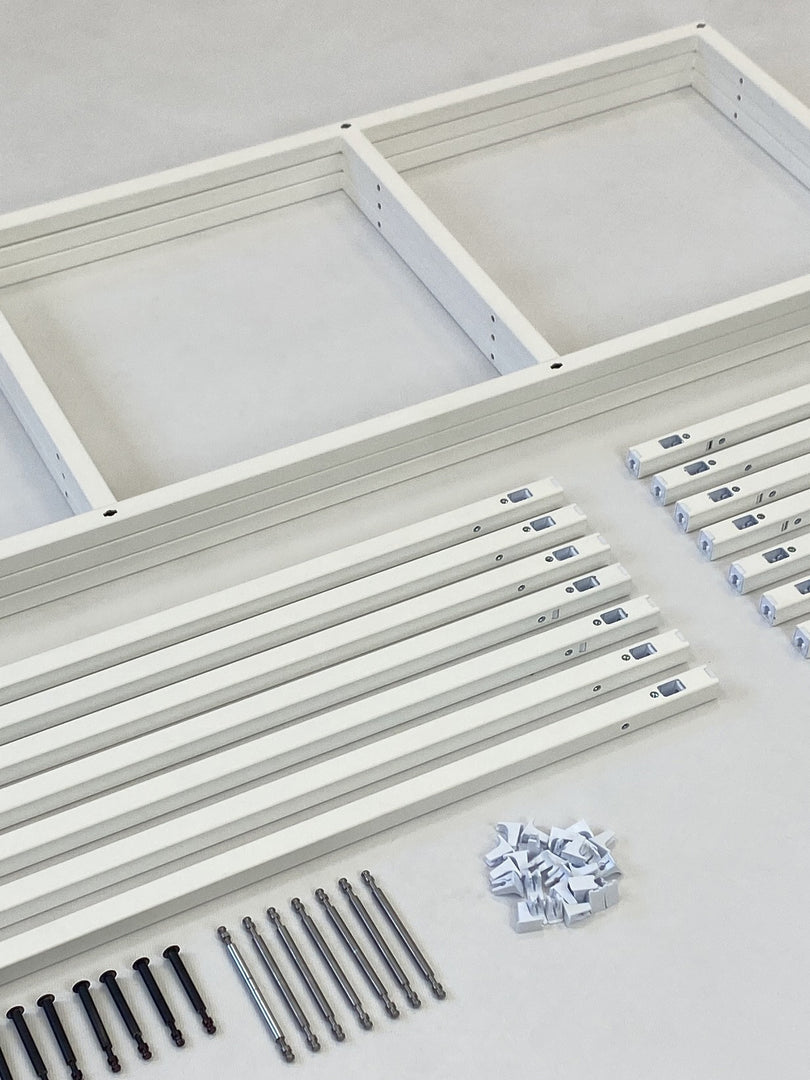

This guide walks you through using the Shelved Configurator to design your own custom home office unit. From planning your layout and choosing the right components to refining the details and adding the finishing touches, we’ll guide you through every step of the process from start to finish.
Whether you’re creating a compact workspace for a small room or a larger setup with integrated shelving and cupboards, our step-by-step approach will help you design a home office that works for your space and your routine.
Step 1: Measure Your Space
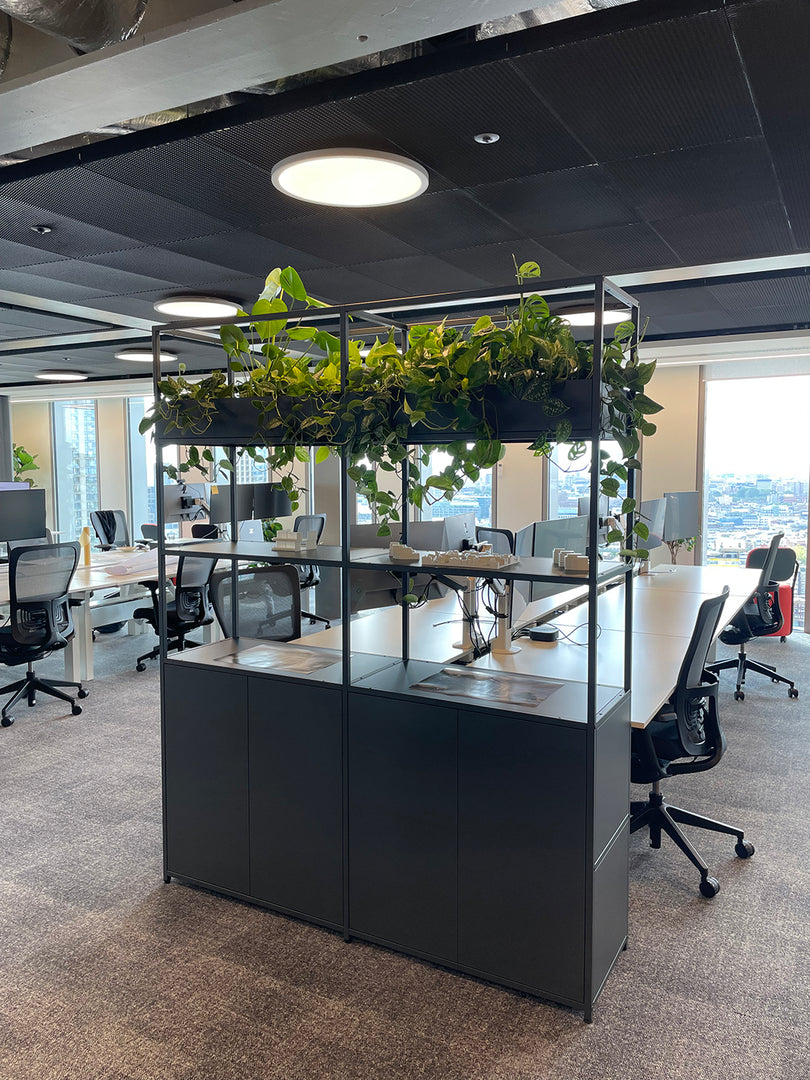
Before designing, you’ll need to know the size of your space. For this example, we’ll use a width of 350cm and a height of 230cm. Let’s make a unit that can double up as a home office unit and a room divider.

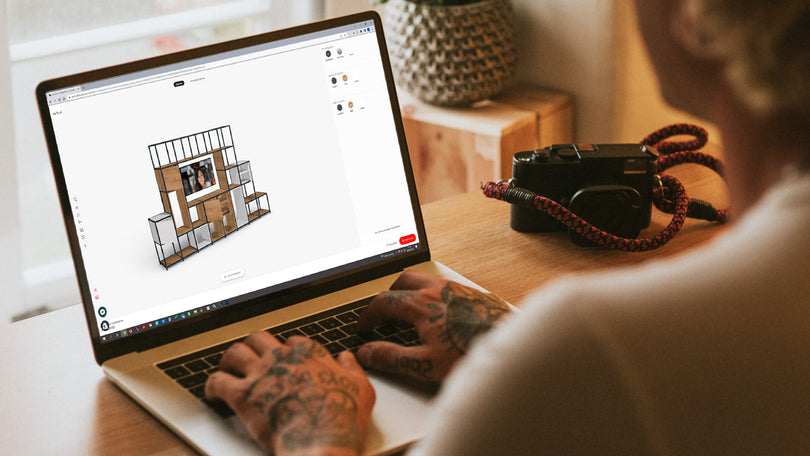
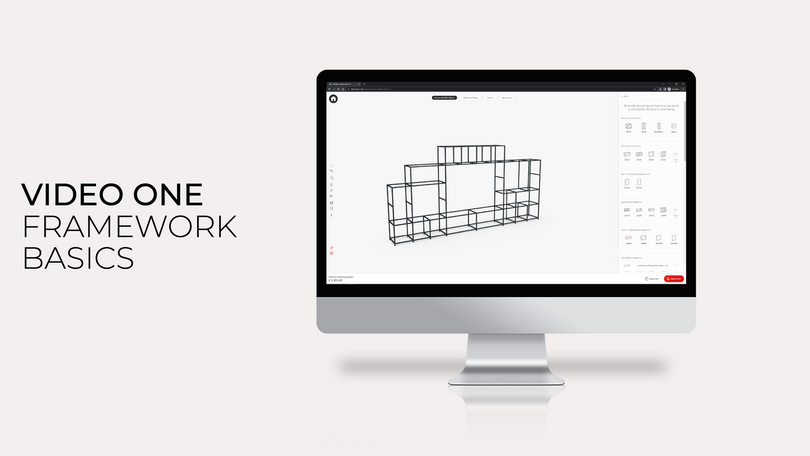
Step 2: Start Building In The Configurator
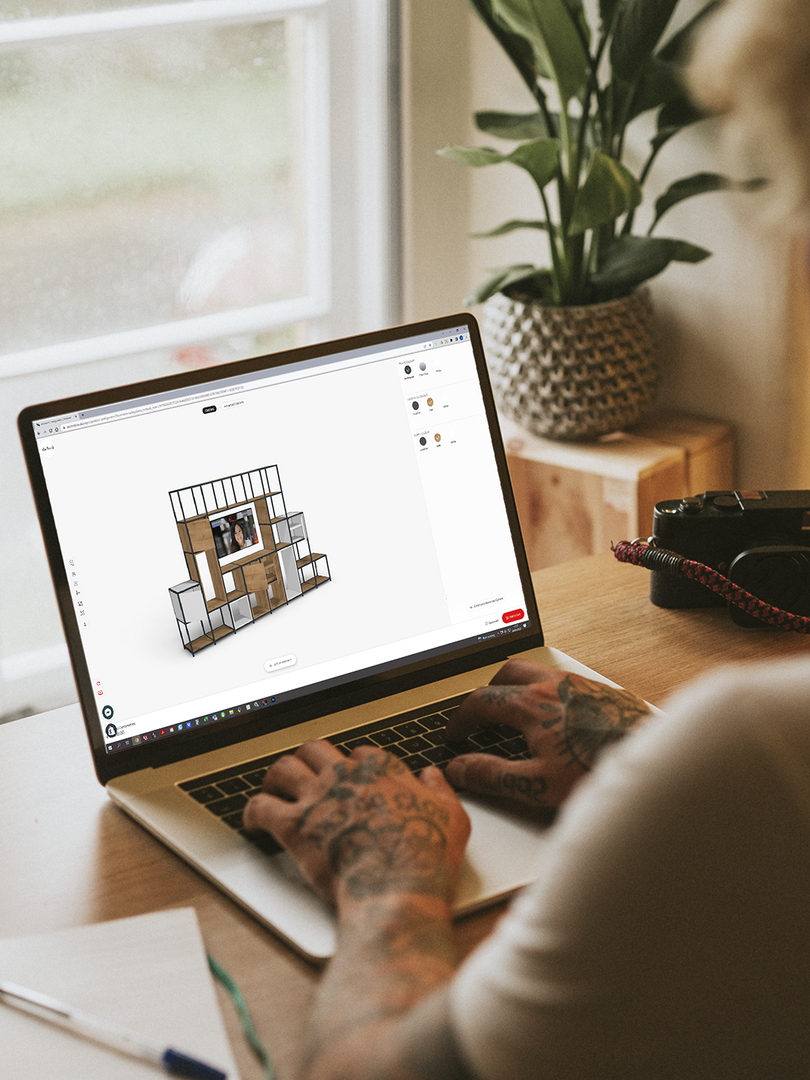
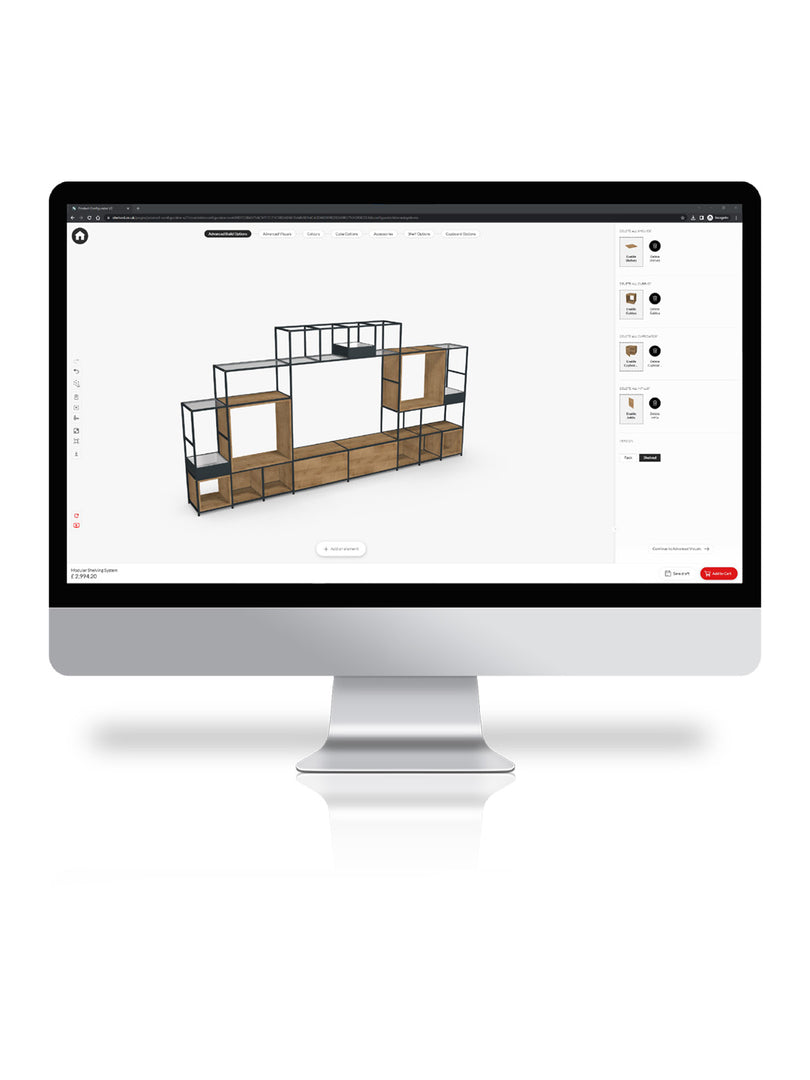
Head to the Shelved configurator and click “add an element” at the bottom of the screen. You’ll see a range of width options — select “see all” to view the full list of options within each width category.
We’ll begin by selecting the desk unit from the “80cm building blocks” section and select a desk. Once it’s in place we can build upwards as high as we want. We’ll add a 40cm x 40cm cube above so there’s head room.

Step 3: Building The Unit
Each new element must match the width of the block below (for example, 120cm on 120cm), so if you’re intending on adding wider sections above, you’ll need to select from the appropriate building blocks.
Place your first building blocks and build upwards high as you want, then build out the wall in width until you’ve got as close to your dimensions as possible. Use different height and sizes to suit your needs and aesthetic preference.
To see the width of your unit as you build, click the ruler icon on the left-hand side.
Once this is done, select the end of the unit that we’d like to become the corner, and click “right angles”. This will allow us to build this into a corner unit.

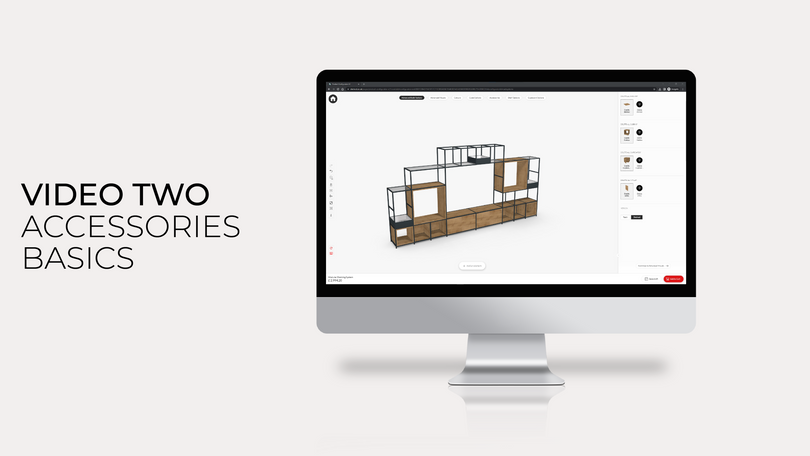
Step 4: Populating The Unit
Once your main structure is in place, you can start customising the finer details. Use the right-hand panel to browse options like cupboards, planters, fabric panels, and cubbies, then place them wherever they suit your layout. The configurator will automatically highlight where each element can be added.
Selecting an item opens up further options, including internal layouts, hinge positions, orientation, and colour finishes. If you want to update the overall look, head to the “colours” tab at the top to apply finishes across your entire design, from frame pins to shelving panels.

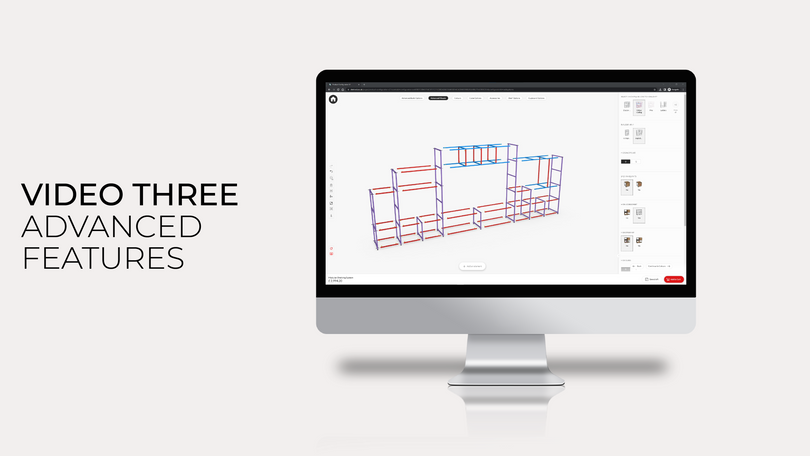
Step 5: Review and Order
When you’re happy with your design, simply click “Add to cart” — and your custom corner unit is ready to order.

FAQs
Can I create a corner or room divider unit?
Yes, you can easily transform your design into a corner or room divider by using the “right angles” feature. This allows you to extend your unit in multiple directions, making it ideal for separating spaces while maintaining functionality.
What types of components can I add to my unit?
You can customise your unit with a variety of components, including cupboards, cubbies, planters, and fabric panels. These elements help tailor your design to your storage needs, aesthetic preferences, and how you plan to use the space daily.
How do I check the size of my design while building?
You can use the ruler icon within the configurator to track the overall width of your unit as you build. This feature helps ensure your design stays within your intended dimensions and fits your available space accurately.
What happens once I finish my design?
Once your design is complete, simply click “Add to cart” to prepare it for purchase. Your custom configuration is saved and ready to order, making it easy to move from design to installation with confidence. From there, click the cart icon in the top corner and add you payment details.
Can I share my design with someone else?
Yes, you can easily share your design for feedback or collaboration. Simply click the “save my design” button to generate a unique link. You can then copy and paste this link to send your design to others to view.
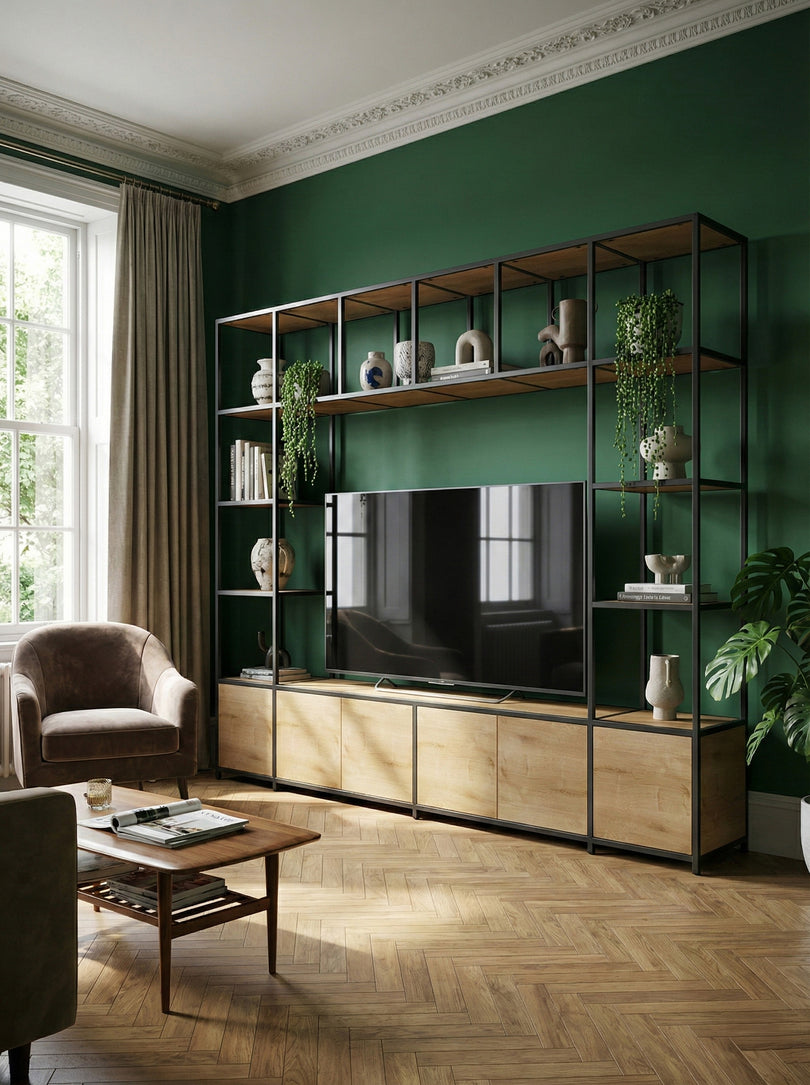
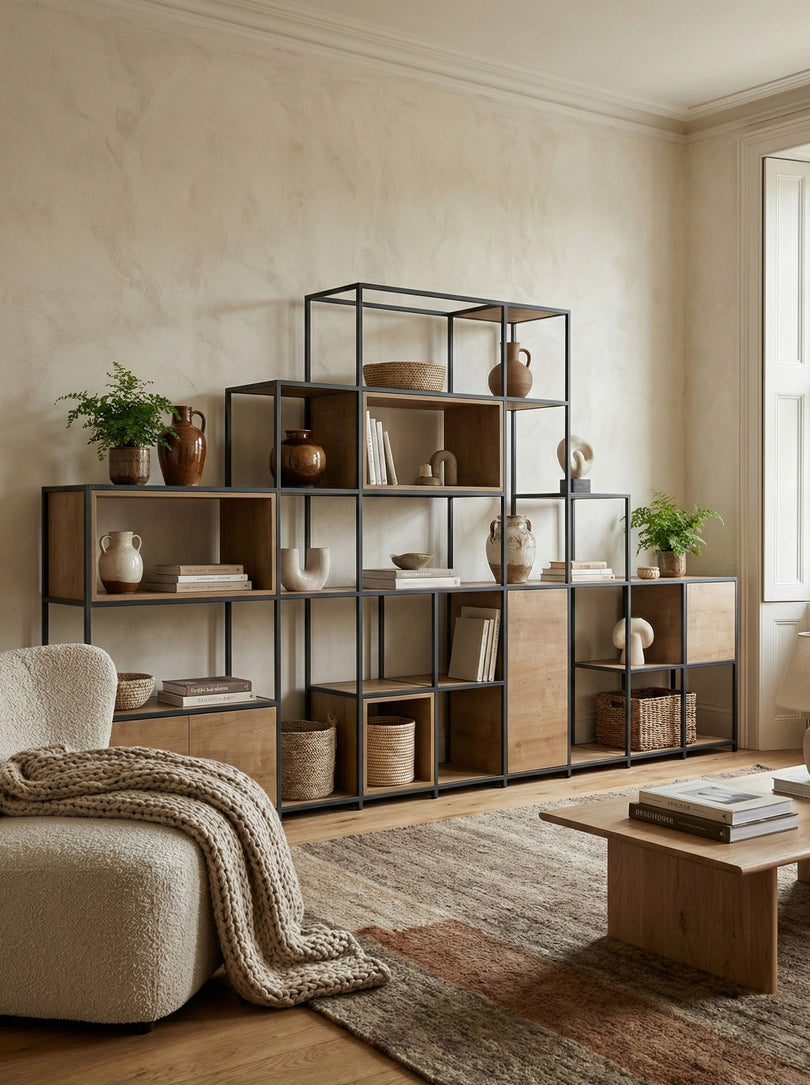
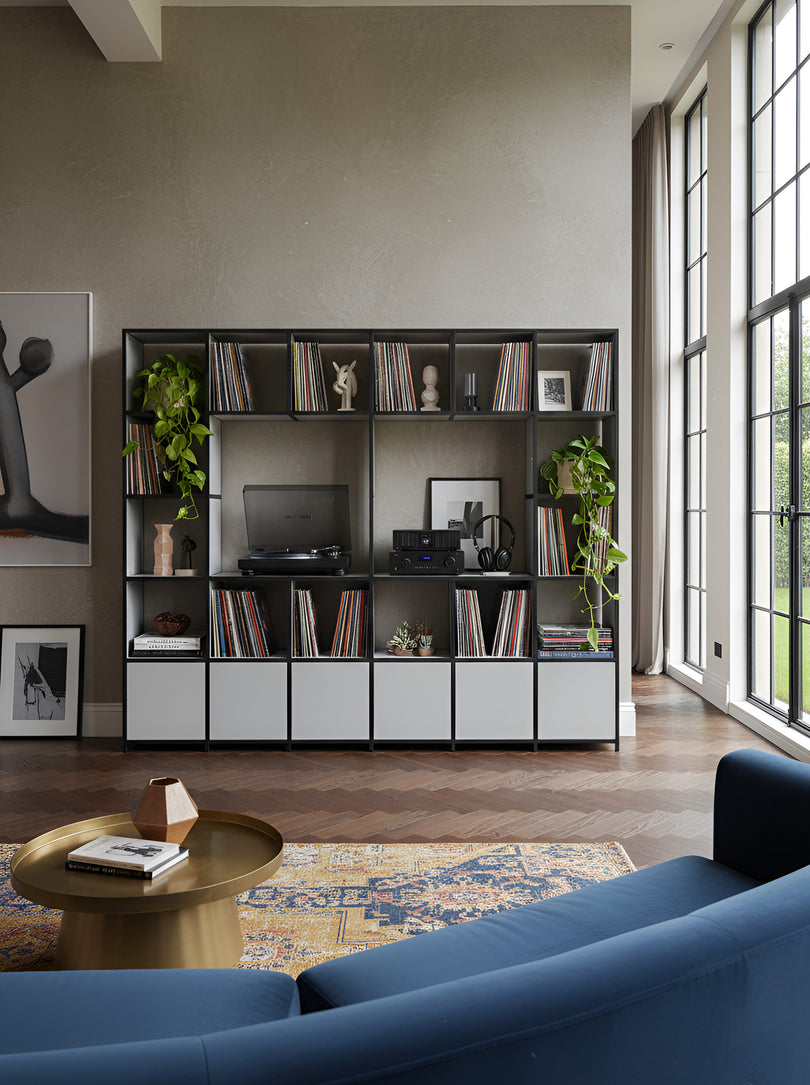
Looking for more ideas? Our configurator guides walk you through designing storage for different spaces, helping you get the most out of your layout.

